How to change the images on my site?
Editing and changing the photos on your Mixo site is an integral part of tailoring your site to match your brand. Luckily, this process is simple and straightforward with the help of our intuitive Mixo Editor. In this article, we guide you through the process of changing these images to your preference.
Step 1: Access the Mixo Editor
Accessing the editor is simply done by logging into your Mixo account and clicking on ‘Edit Site’ next to the site of your choice on your dashboard.
Step 2: Select the Image You Want to Edit
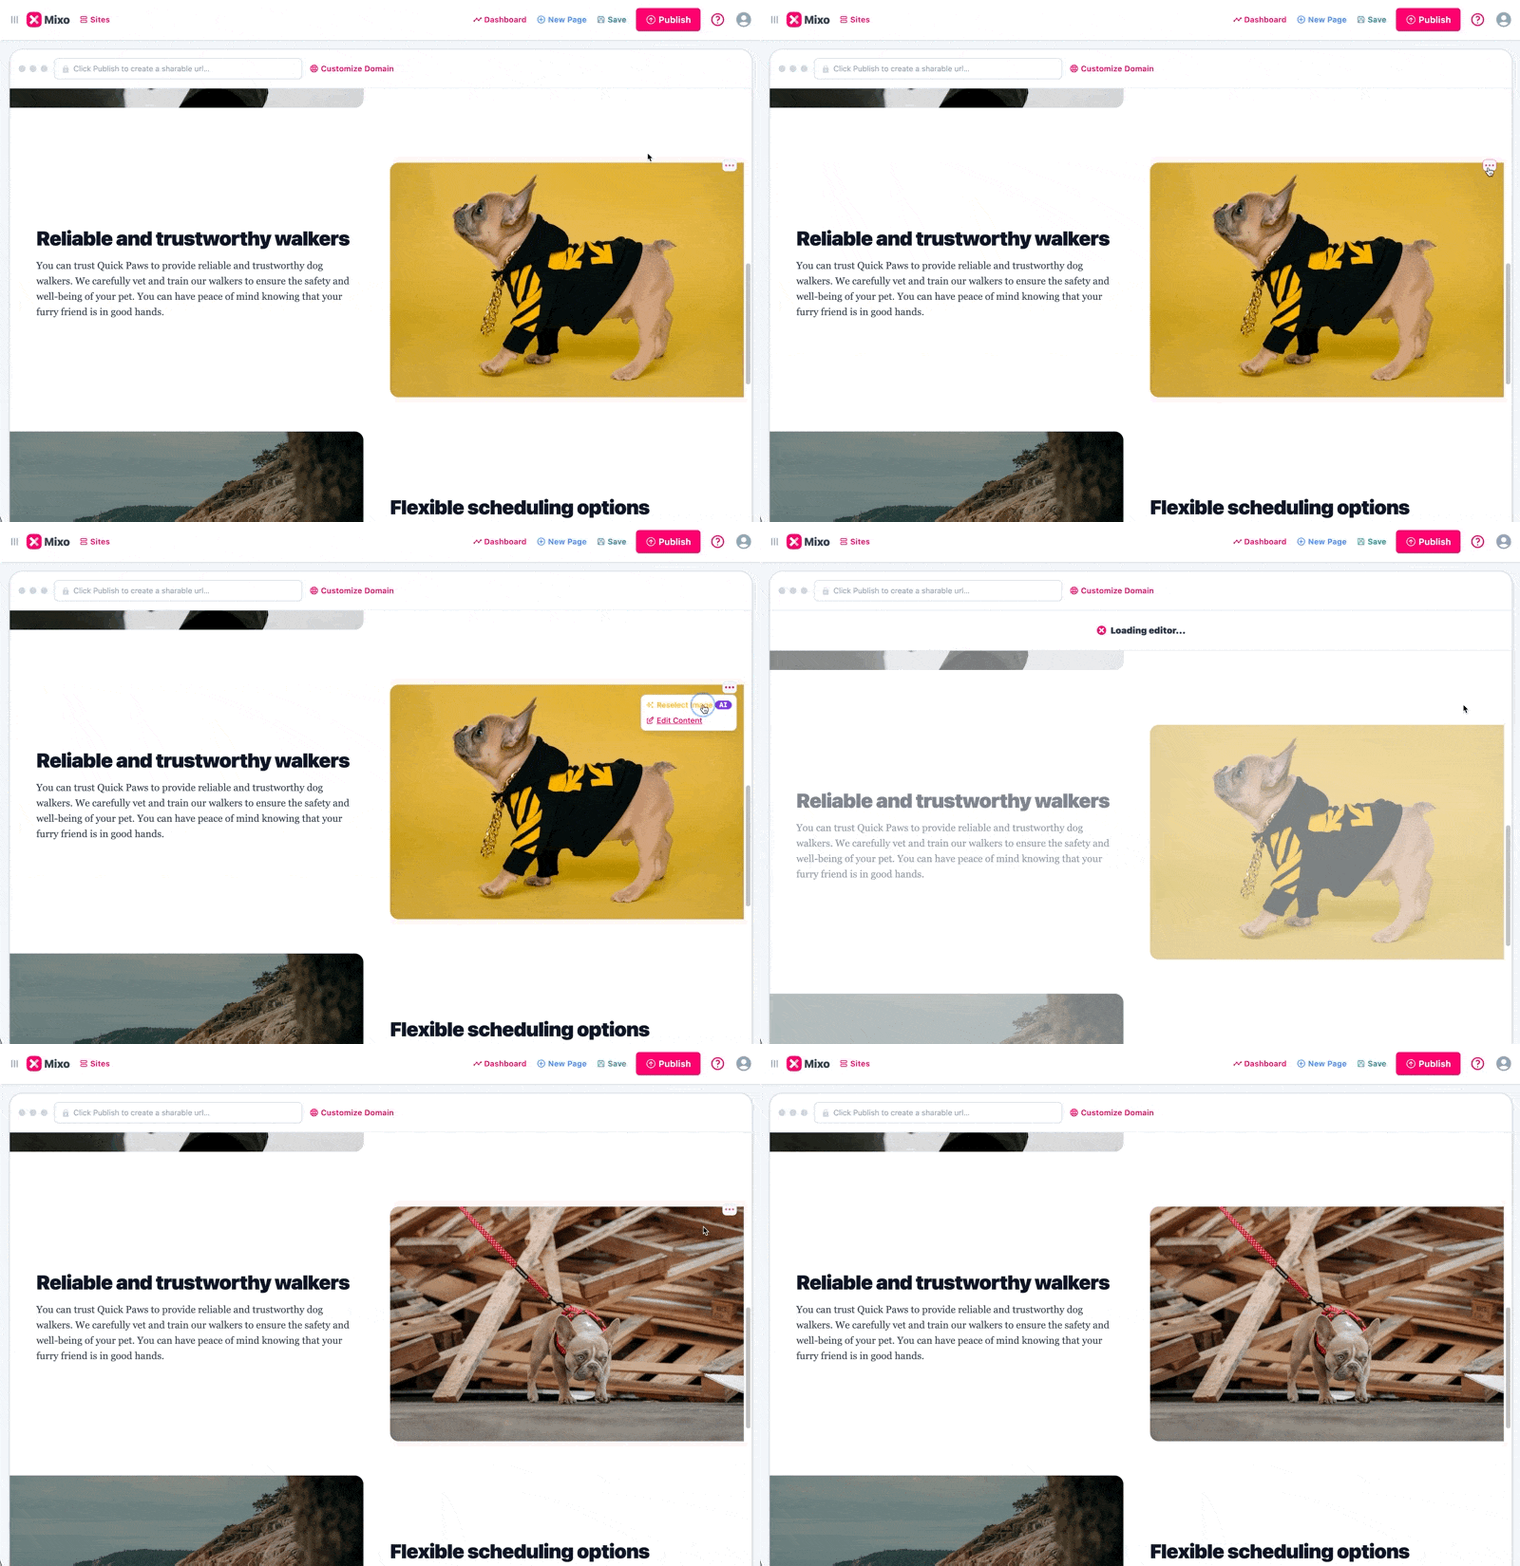
When in the editor, you can hover over sections in the site preview to see a menu icon (three vertical dots) appear. By clicking on the respective image within the menu, you can easily select the image you wish to edit.
Step 3: Edit the Image
Once clicked, a sidebar menu will appear on the left side of the screen where you can either select a new photo from a library of 5 million+ stock photos or upload an image of your choice from your computer.
If you dont want to select a photo yourself, you can also get the AI to do it. Here’s a quick animation showing the mentioned steps visually:

That’s it! With the Mixo editor’s streamlined and straightforward process, changing and editing photos on your site has never been easier.
Remember to click ‘Publish’ top right in the editor once you’ve completed your changes, your site won’t go live with the new edits unless you publish them.
If you have any further questions or concerns, don’t hesitate to check our Help documentation or Submit a ticket to our support team. Have fun editing!
“I tried three other AI Website builders, and Mixo always came out on top. The interface is easy to understand. The template is simple to use, and customer service is fast, precise, and clear.”
Trusted by over 750,000 of the most innovative creators in the world.
Mixo is the trusted, easy-to-use platform chosen by everyone from solo entrepreneurs to employees at Fortune 500 companies for its reliability, quality, and cutting-edge features.